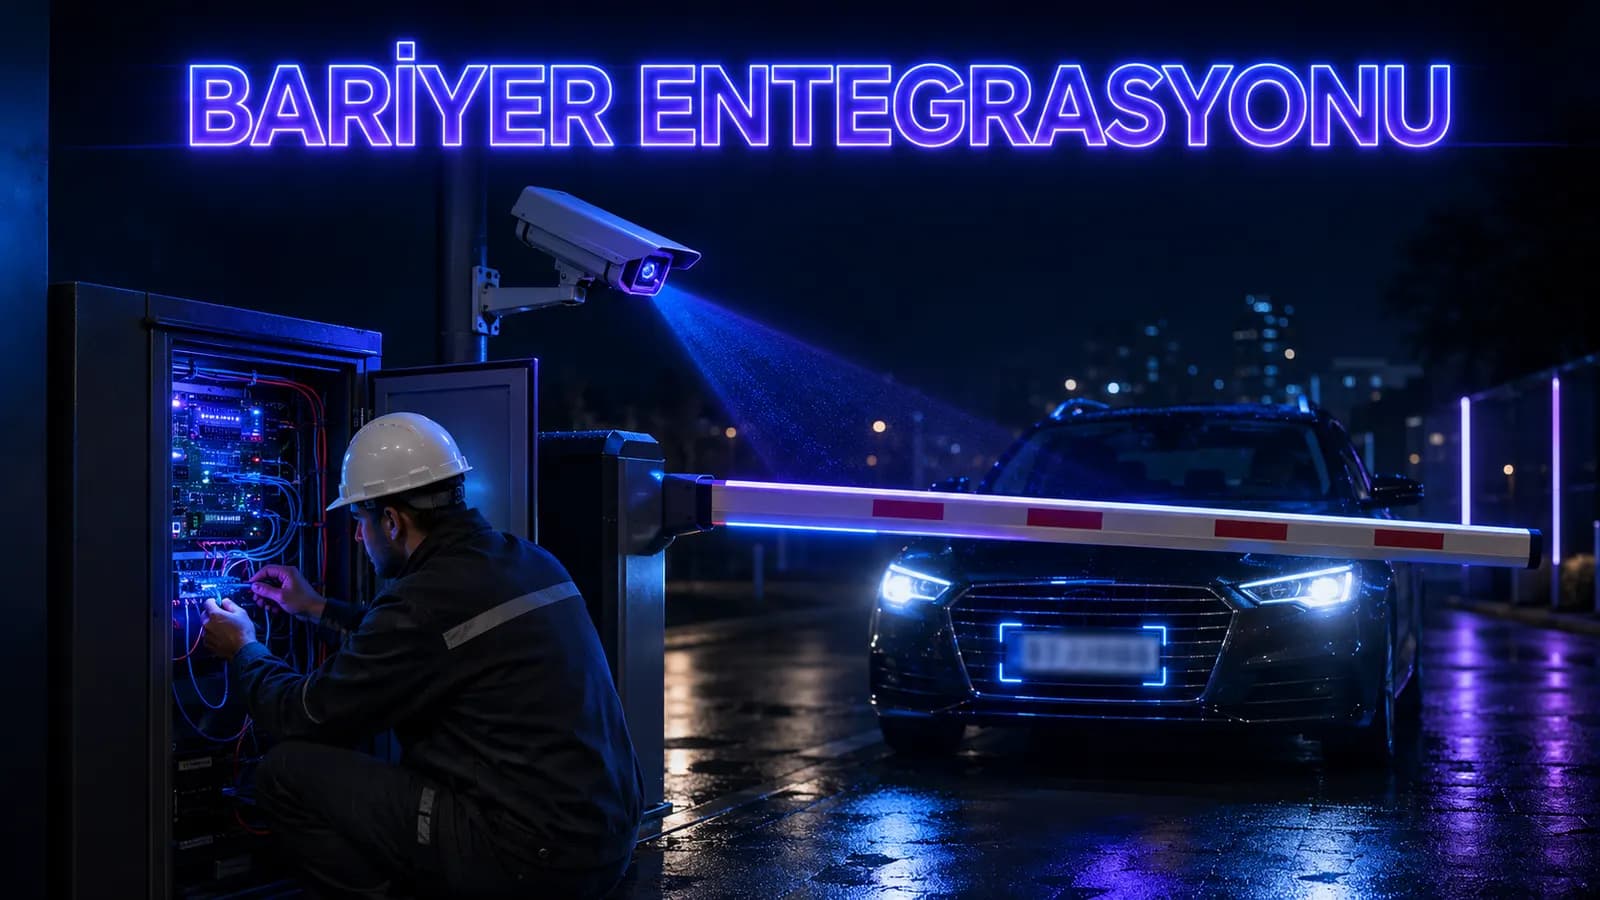
Learn how to integrate LPR software with barriers, gates and turnstiles step by step. HTTP/TCP, relay, loop detector and safety features.
At site entrances, parking lots and factory gates, classic card readers and button systems are giving way to LPR-controlled automatic barriers. The plate is read before the vehicle stops; if authorized, the barrier opens automatically — the driver touches nothing. This guide explains how to integrate LPR software with a barrier, step by step.
How LPR + Barrier System Works
Four components:
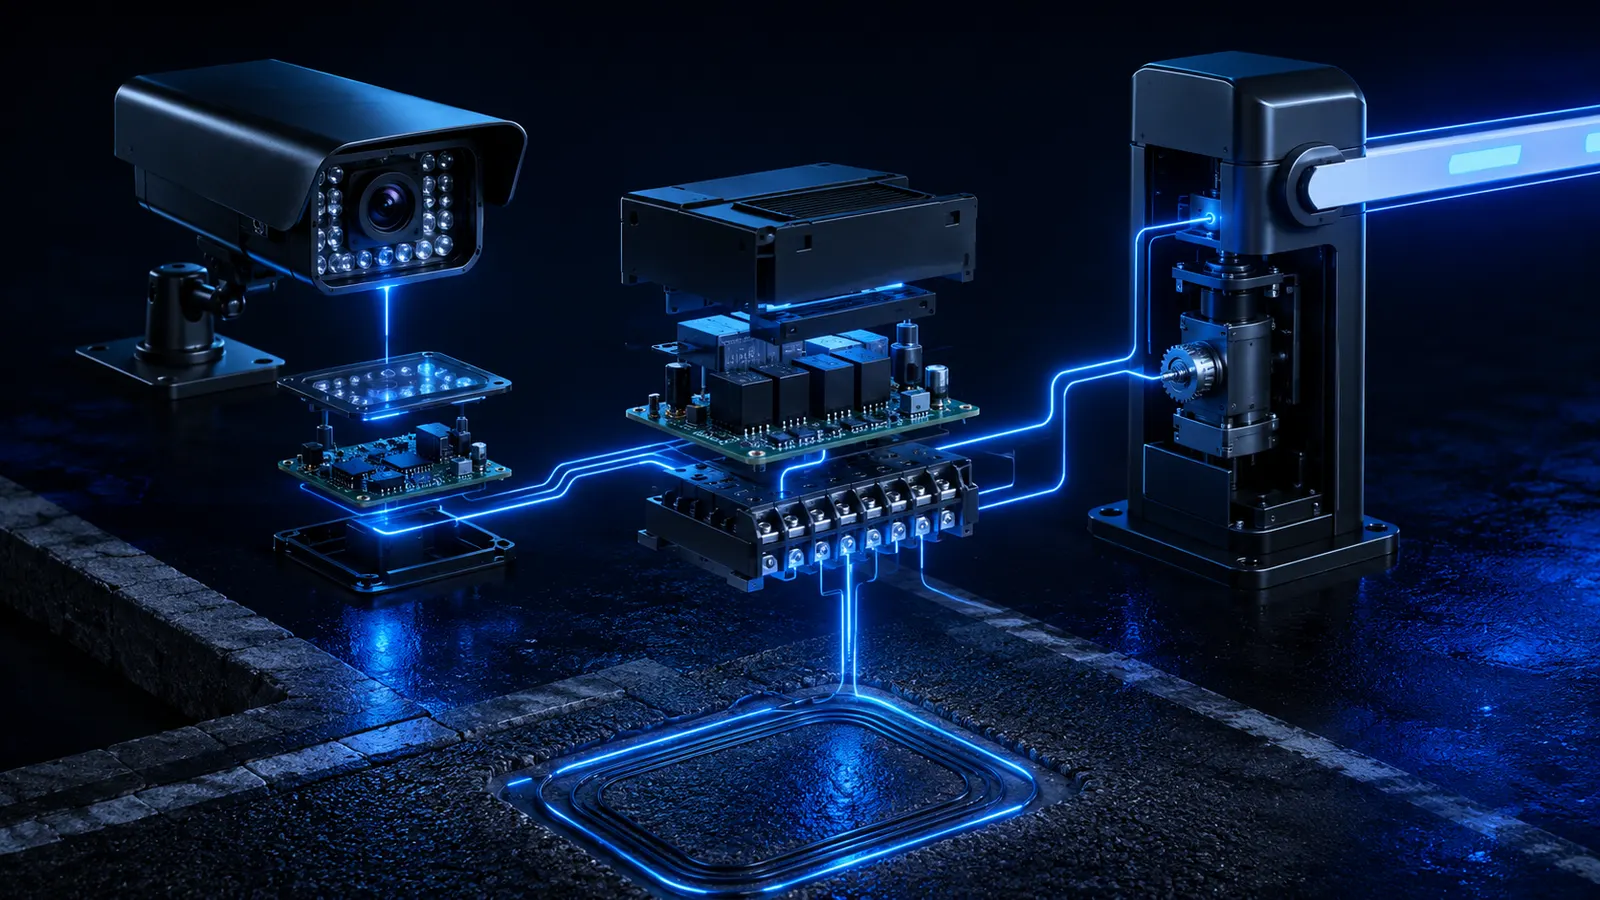
1. IP camera — images the vehicle plate. 2. AI software (like PlakaNet) — reads the plate, compares with authorized/denied lists. 3. Communication layer — sends the decision to the barrier (HTTP/TCP/relay). 4. Barrier — receives command, lifts arm; loop detector ensures safe closing after vehicle passes.
Flow: camera captures image → AI reads plate → decision → signal to barrier → barrier opens → vehicle passes → loop detector → barrier closes. In a well-configured system this takes under 2 seconds.
Barrier Types and LPR Compatibility
Every barrier type works with LPR, but integration method varies:
Arm Barrier
Most common. Standard at site and parking entrances. 3-6 meter arms for single lane. Most brands (CAME, BFT, Nice, Faac) offer relay or HTTP/TCP control units. Easiest to integrate with LPR.
Bollard Barrier
High-security facilities. Airports, military areas, data centers. Hydraulic; longer cycle than arm barriers. Relay integration.
Road Blocker
Full security barrier. High-impact risk points. LPR decision + security personnel confirmation typically work together.
Sliding Gate / Swing Gate
Common at site entrances. LPR connects to gate motor via relay or HTTP/TCP. Passage without leaving the vehicle.
Integration Methods
LPR software connects to the barrier in three ways:
1. HTTP/TCP Integration
The software sends HTTP or TCP commands to the barrier controller.
Example: GET http://192.168.1.50/relay/1/on
Modern barrier control boards (e.g., CAME Controller, BFT U-Link, Nice Era) support this. Advantage: bidirectional communication — barrier status (open/closed/fault) reports back. So "barrier left open" alerts can be generated.
2. Relay (Dry Contact)
Classic but reliable. The software closes a relay via an I/O card; the barrier opens on this signal.
- Advantage: Brand-agnostic, works with any barrier.
- Disadvantage: One-way — barrier status doesn't return to the software.
3. ONVIF / Natively Integrated Camera
Some AI cameras (Hikvision Pro, Dahua WizMind) provide relay output directly. The software talks to the camera, the camera triggers the relay. Eliminates the I/O card.
Loop Detector and Safe Closing
When the barrier closes after opening is critical. Early closing damages the vehicle; late closing creates a security gap.
Loop Detector
A magnetic loop is embedded in the ground. When the vehicle's metal mass passes over, it generates a signal. The barrier won't close until the vehicle has fully passed.
Photocell
Infrared beam barrier. When a vehicle or pedestrian breaks the beam, the barrier won't close. Second safety layer after loop detector.
Safe Closing Flow
1. LPR → barrier opens. 2. Vehicle passes. 3. Loop detector signals "vehicle passed." 4. Photocell confirms "no obstacle." 5. Barrier closes safely.
Without this flow, closing by timer alone is risky — dangerous for slow vehicles or pedestrians.
Installation Steps
1. Site Survey
- Camera position (angle, distance, height)
- Barrier position and arm length
- Network (IP for camera + barrier)
- Existing hardware compatibility
- Loop detector and photocell placement
2. Hardware Mounting
- Camera mount (2-3 m height, <30° angle)
- Barrier mount (solid foundation, cable ducts)
- Loop detector coil (ground channeling + winding)
- Photocell transmitter/receiver mount
- I/O card or control unit mount
3. Network Configuration
- Static IP assigned to camera and barrier.
- RTSP stream test.
- HTTP/TCP access test to barrier controller.
4. Software Setup
- AI software like PlakaNet installed on Windows device.
- Camera stream added to software.
- Reading area (ROI) drawn.
- Barrier output defined (HTTP URL, relay number, or ONVIF).
5. List Management
- Authorized plates (residents, staff)
- Denied plates (blacklist)
- Visitor plates (temporary)
- Limit rules (vehicles per apartment, etc.)
6. Test & Commissioning
- Day and night test.
- Fast and slow vehicle test.
- Authorized/denied/visitor scenarios.
- Loop detector and photocell safety test.
- Offline operation test during internet outage.
7. Training & Handover
- Operator software training.
- Manual intervention procedure (opening barrier by hand in emergency).
- Maintenance schedule (loop detector cleaning, camera lens cleaning).
FAQ
Does LPR work with my existing barrier?
Yes, with most modern barriers. Common brands like CAME, BFT, Nice, Faac support relay or HTTP/TCP. Compatibility verified during site survey.
How long should the barrier arm be?
3-4 meters for single lane. Up to 6 meters for double lane or wide entrances.
Is a loop detector required?
For safe closing, yes. Timer-only barriers are risky for slow vehicles or pedestrians.
What happens if the plate can't be read?
The software alerts the operator; the operator manually enters the plate or opens the barrier with a button. A good system records the unread plate with its image.
Does the barrier open during internet outage?
Yes, with offline systems. The software triggers the barrier locally; no internet needed.
Conclusion
LPR + barrier integration works smoothly with the right camera, communication protocol and safety sensors. When choosing, definitely check HTTP/TCP bidirectional communication, loop detector and offline operation.
PlakaNet is an offline LPR system compatible with common barrier brands, supporting HTTP/TCP and relay integration. Try it free for 7 days or request a setup-included system quote.